How
to create a chart in WinCross
Step
1 - Run your
banners/tables using Run|Tables.
Step 2
- Specify the chart style using the Setup|Chart Style tabs.
- You can use the WinCross defaults
for Chart Style by not changing
any of the Chart Style options
currently specified. If no changes are made the active chart style
becomes the WinCross defaults for Chart
Style.
- You can load a previously saved Chart Style using the Load
Chart Style button.
- You can save the Chart
Style currently defined using the Save
Chart Style As button.
- The Chart
Style defined here becomes the active chart style - this is
important when you get to the next step of specifying Chart
Content.
Step
3 - Specify chart content using the Setup|Chart Content tabs.
You can run all of your tables and then choose only the banners/tables
you want to create charts for here or use Remove
from Table List to eliminate those banners/tables you do not want
to create charts for.
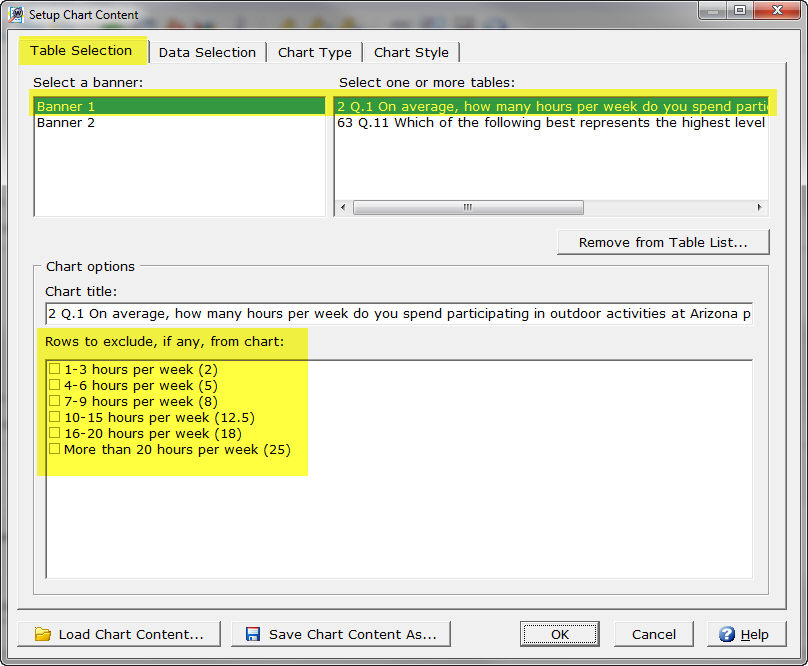
- Select the banner and table(s) on
the Table Selection tab.
- Choose Rows
to exclude, if any, from chart.
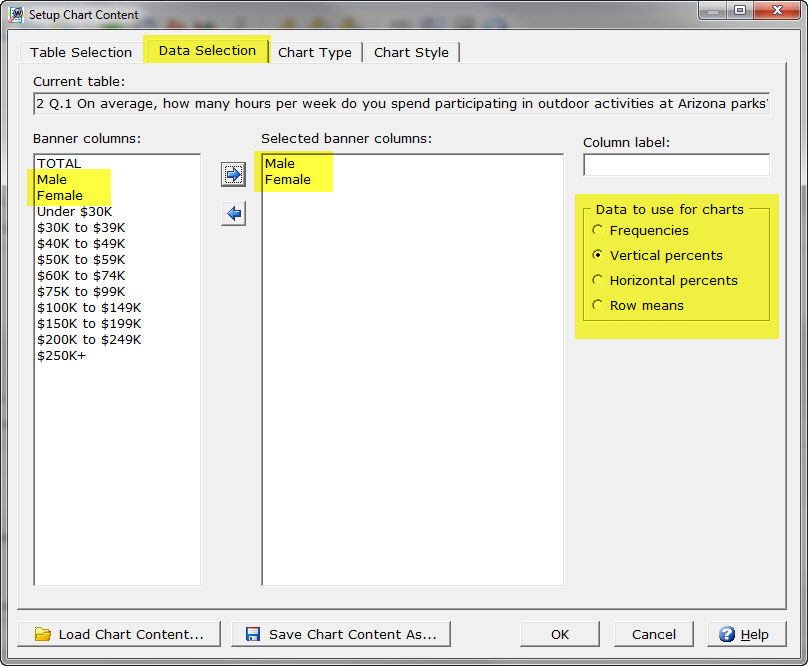
- Select the banner columns to be used
as the chart data series from the Banner
columns list on the Data Selection
tab.
- Specify the data to use as the data
points of the chart in Data to use
for charts.
- The selection for Data
to use for charts needs to be a row specified on the table
(for example, if Horizontal percents
is selected in Data to use for charts
and horizontal percents were not specified as a table option when
the table was created and processed, you will get a error message
box indicating the data on the table(s) does not match the data type
selected in Data to use for charts).

Step
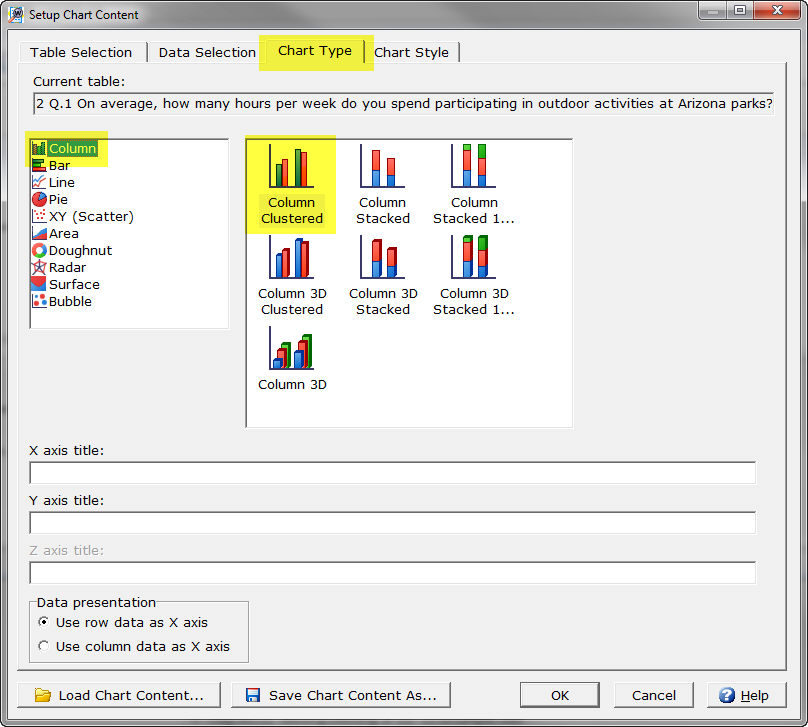
4 - Choose the chart type for your table(s) using the Chart
Type tab.
Step
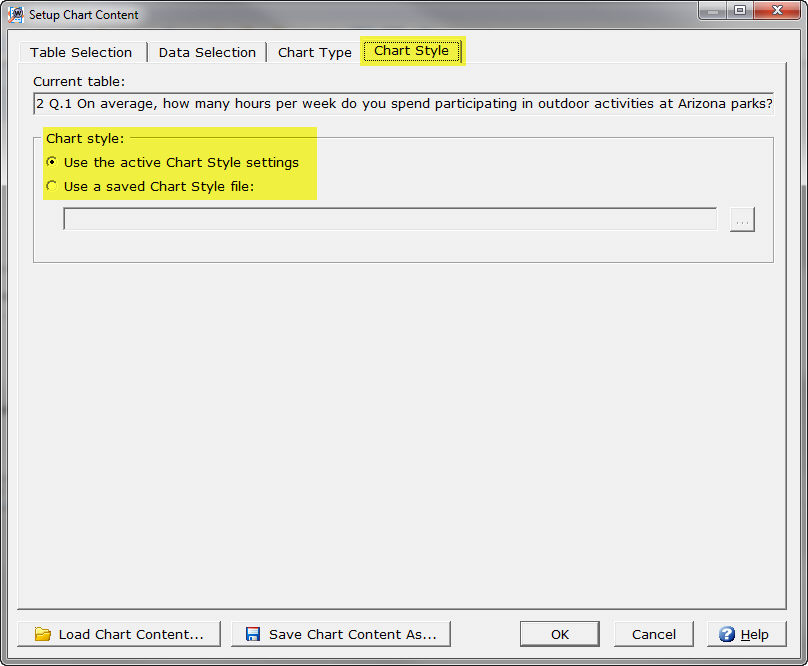
5 - The Chart Style tab
lets you select a previously saved Chart
Style (see Step 2 above) or use the default active Chart
Style.
Step
6 - Select Run|Charts.
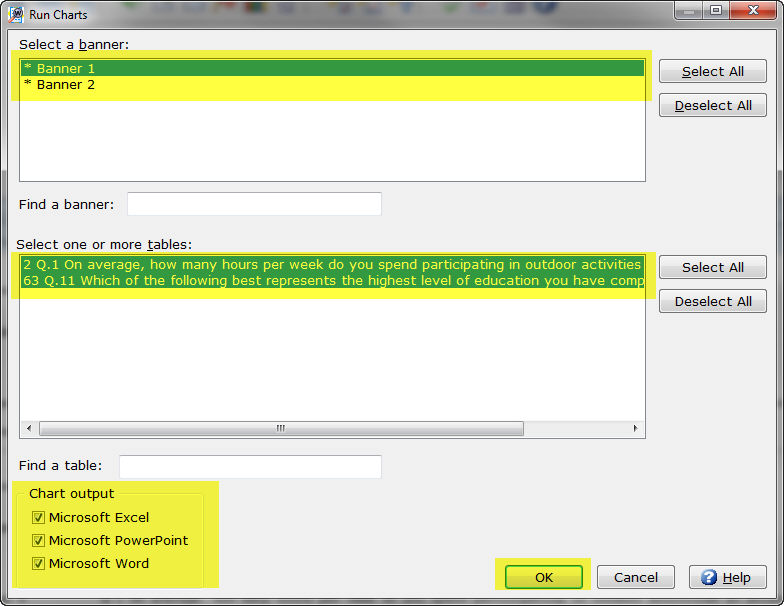
- Select the banner and tables you
want to create charts for. Only those banners/tables selected for
charting will display on the Run
Charts dialog box.
- Choose the Chart
output format for your charts (Microsoft
Excel, Microsoft PowerPoint
and/or Microsoft Word).
- Select OK
and enter a File name for
your chart(s).
- Each selected Chart
output format launches the corresponding application and your
chart(s) is displayed in that application.
- Microsoft
Excel displays each chart on a separate worksheet.
- Microsoft
PowerPoint displays each chart on a separate slide.
- Microsoft
Word displays all charts in one document.
Related topics:
Setup|Chart Style
Setup|Chart Content
Run|Charts