How
to create a banner template using Banner Templates from Variable Data
Step
1 - Select Setup|Banner
Templates from Variable Data.
Step
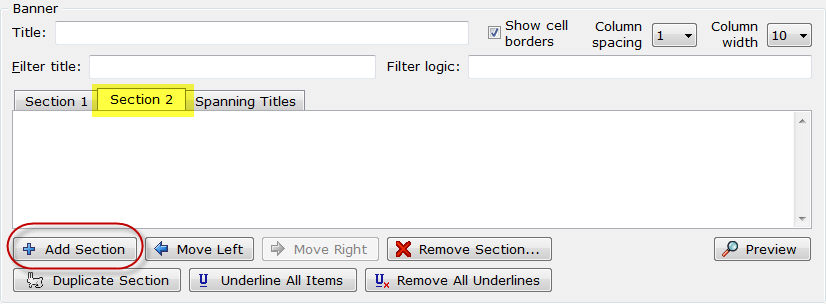
2 - For this example, we will build a demographic banner and leave
Section 1 as "Total".
Step
3 - Select Add Section
to add Section 2.
Step 4
- Let's create a section for this banner of education within gender.
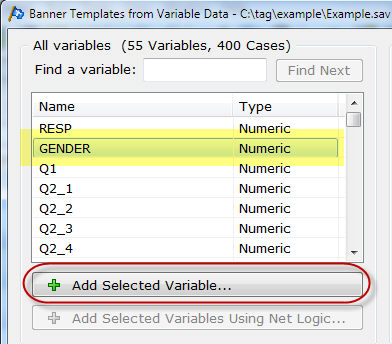
- Highlight the variable GENDER
in the list of variables and select Add
Selected Variable.
- The Add
Variable dialog is displayed and allows you to make changes
to the Variable label, Value labels and Logic.
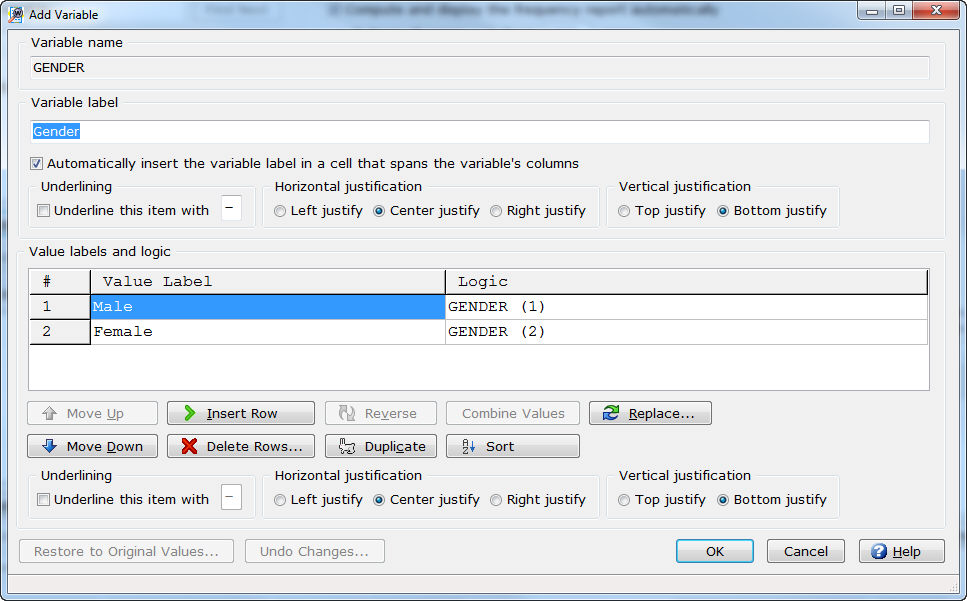
- For this example, we will not make
any changes for the variable GENDER.
Select OK to close the Add Variable dialog.
- Staying in Section
2, let's add the EDUCATION
variable to get education within gender. Highlight the EDUCATION
variable in the variable list and select Add
Selected Variable.
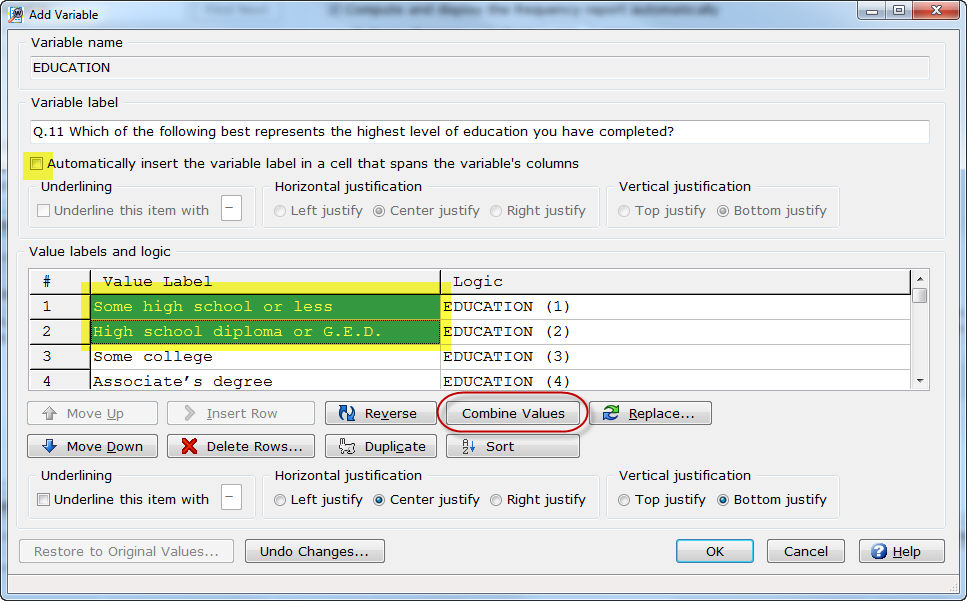
- For this variable, we don't need
the Variable label so deselect
the Automatically insert the variable
label in a cell that spans the variable's columns option under
the Variable label.
- We also want to combine some education
code values together so let's highlight Some
high school or less and High
school diploma or G.E.D. and select Combine
Values.
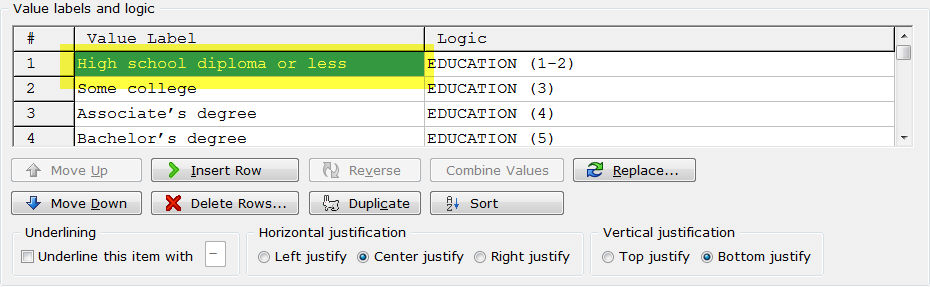
- Change the Value
Label for the combined value labels to High
school diploma or less.
- Select OK
to close the Add Variable
dialog.
- You can now see that Section
2 is a combination of EDUCATION
within GENDER.
Step 5
- Let's preview how the banner looks.

- To preview how the banner looks with
Section 1 and Section
2 completed, select Preview.
- Notice that there are no underlines
for banner column text or banner heading text and that some columns
aren't wide enough to accommodate all of the banner text with sensible
line breaks.
Step 6
- Next, we will add underlines and increase the banner column width for
Section 2.
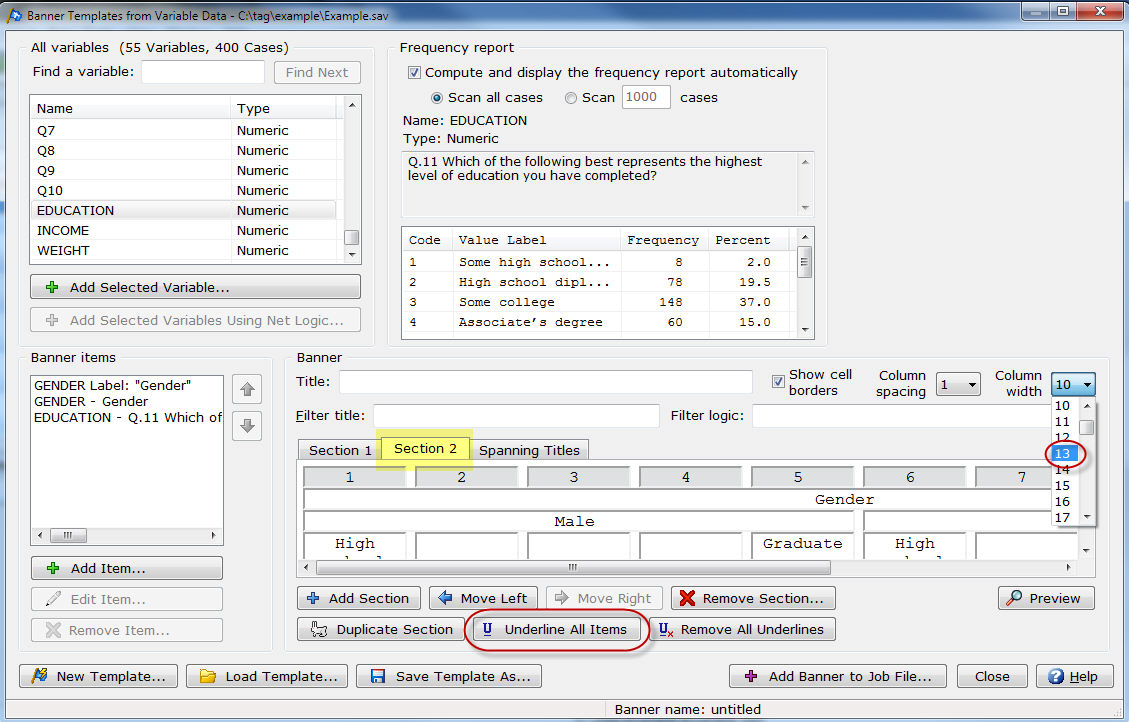
- Verify that Section
2 is the selected tab.
- Select the dropdown list for Column width and change the selection
to 13. The Column
Width setting is applied per section so our increase to a column
width of 13 will only be applied to Section
2. The "Total"
column in Section 1 will remain
as a column width of 10.
- Select Underline
All Items to add underlines for banner text and banner headings.
This option applies to all sections regardless of which section is
currently selected.
Step 7
- Let's preview how the banner looks after the changes to Column
Width and Underline All Items.

- Select Preview
to view how the banner looks with the Column
width and Underline All Items
changes.
- Select OK
to close the Full Banner Preview
dialog.
Step 8
- After previewing the banner, let's change the Label
for "Gender" to "Education within Gender" to
be a little more descriptive.
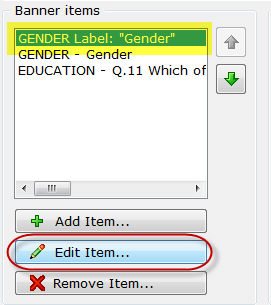
- With Section
2 still the selected tab, highlight GENDER
Label: "Gender" in the Banner
items list box.
- Select Edit
Item.
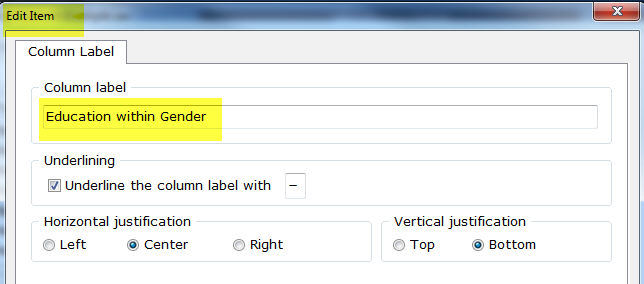
- Change the Column
label to Education within
Gender.
- Select OK
to close the Edit Item dialog.
Step 9
- Next, we will save the banner template and add the banner to the job
file.
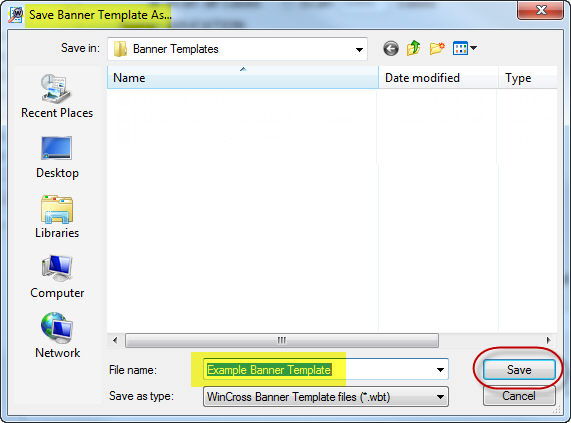
- Select Save
Template As to save this banner as a template for future use.
This is especially useful if you have a customer that uses the same
banner format for most of their jobs. Once saved, you can load the
Banner Template and add it
to a new or existing job file.
- Enter a file name in the File
name field and select Save.
Banner Templates by default
are saved in C:\Users\username\AppData\Roaming\WinCross\Banner
Templates.
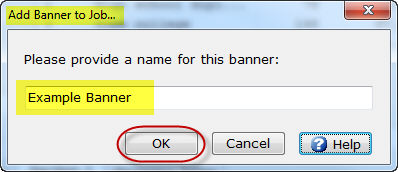
- Select Add
Banner to Job File to save the Banner
Template to your job file.
- Enter a banner name and select OK.
- The new banner will be written as
the last banner in your job file.
You
can now select the new banner in Setup|Tables|Edit
Banner and add banner options, weighting and significance testing
if desired.
Related topics:
Setup|Banner Templates from Variable
Data
Setup Banners
Edit Banner