How
to create a new banner in WinCross using Setup|Banners
Step
1 - Select Setup|Banners.
Step 2
- Select New to display the Add Banner
dialog box.
- Enter the Banner
name and select OK.
Step
3 - Select Edit
Banner.
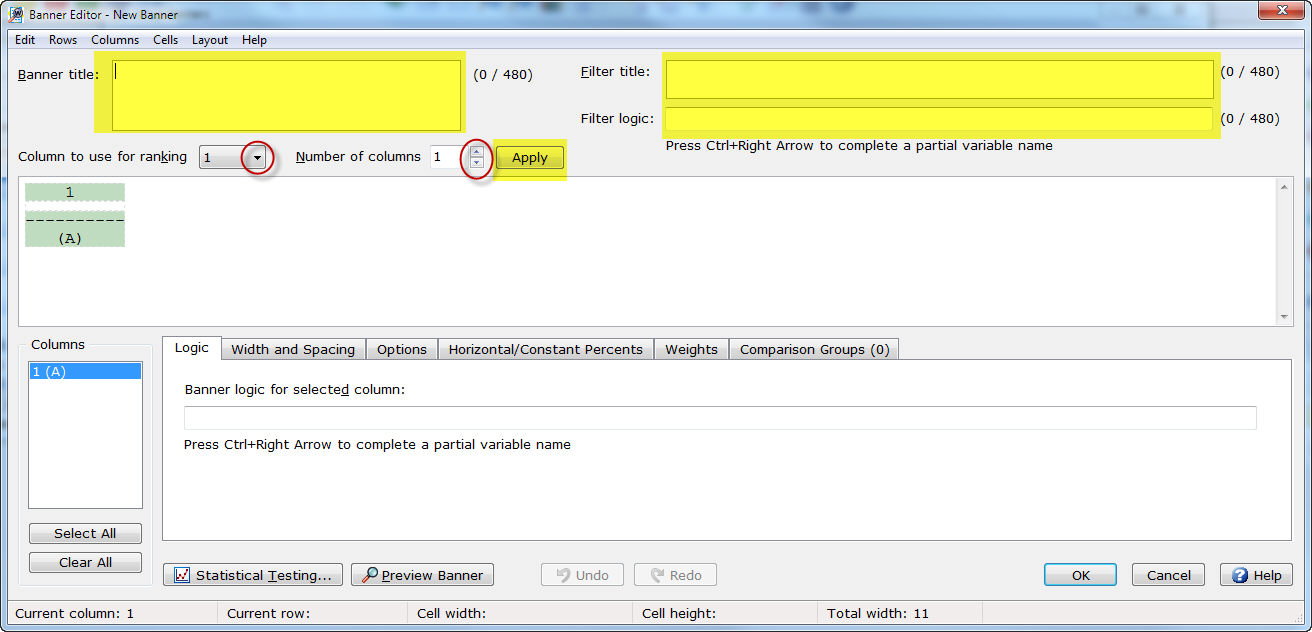
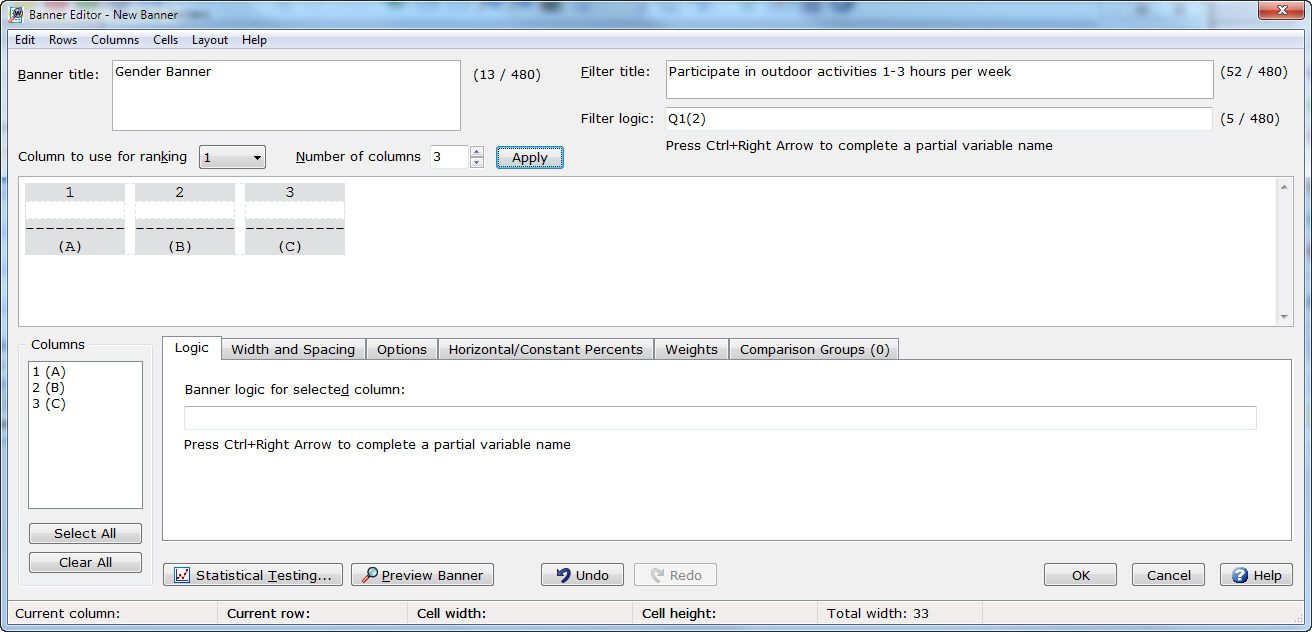
- Enter a Banner
title if desired (optional).
- Enter a Filter
title if desired (optional).
- Enter Filter
logic if desired (optional).
- Choose the Number
of columns for your banner from the drop down list and select
Apply.
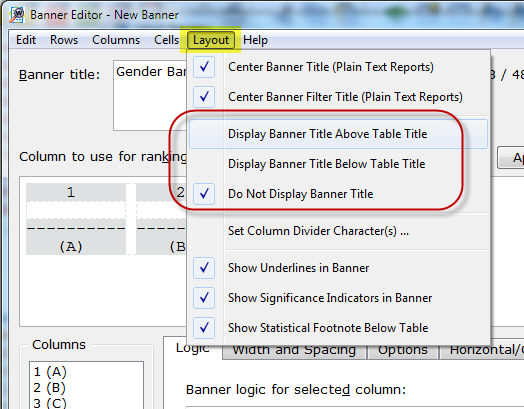
- To display the Banner
title, select the Layout
menu and choose to Display Banner
Title Above Table Title or Display
Banner Title Below Table Title. The default is Do
Not Display Banner Title.
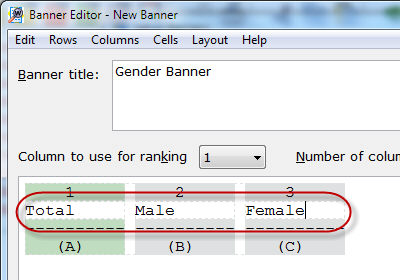
- Enter the banner text for the 3 columns
added by clicking in each cell and typing the desired text.
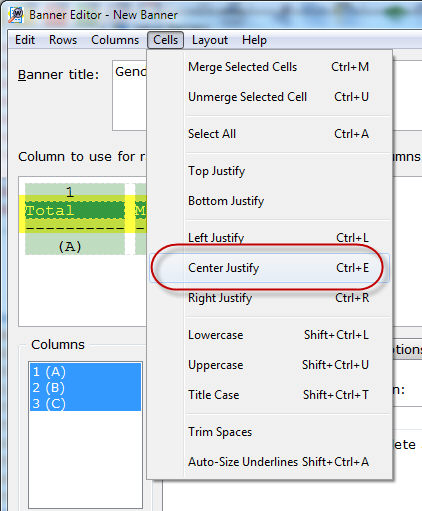
- Banner text is always entered left-justified
but can be centered or right-justified by highlighting the cell(s)
containing the banner text and choosing Center
Justify or Right Justify
from the Cells menu.
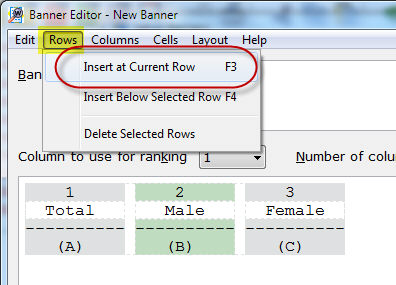
- To add a heading above multiple columns,
you will need to add another row (or level) to the banner. Place the
cursor in the cell for one of the banner columns and select Rows|Insert at Current Row.
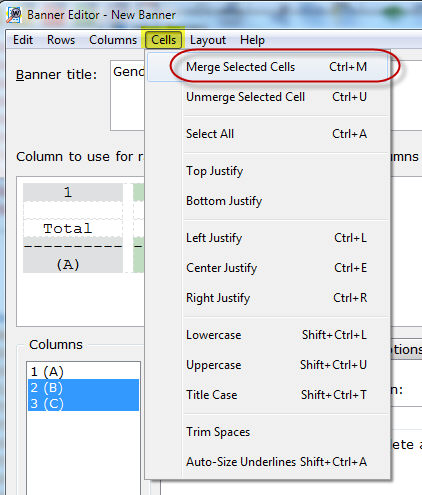
- To add a heading above multiple columns,
select the desired columns by placing the cursor in the new row for
one of the columns that will appear under the heading and drag the
cursor to the next and subsequent columns (if applicable). Select
Cells|Merge Selected Cells.
IMPORTANT:
You must
highlight the cells of the new row just added to Merge
Selected Cells -
see example below. Just highlighting the column headings (i.e.
2, 3, etc.) will not allow you to Merge Selected Cells. |
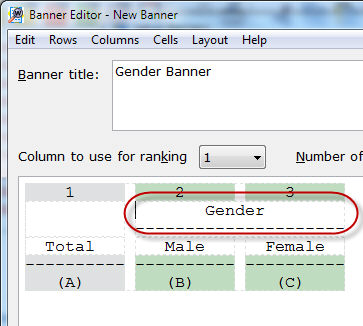
- Enter the desired heading in the
newly merged cell. Select the Enter
key after typing in "Gender" to add an underline. To center
the Gender banner text over
the merged cells (Male and
Female), highlight the banner
text and select Cells|Center Justify.
Step
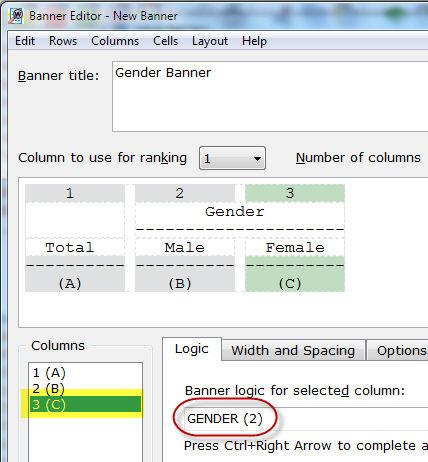
4 - Enter banner logic for each banner column.
- Select the Logic
tab.
- Highlight Column 1
in the Columns list.
- Enter the banner logic for column
1 in the Banner logic for selected
column field on the Logic
tab.
- Select Enter
to enter the banner logic for Column 2
in the Columns list.
- Enter the banner logic for column
2 in the Banner logic for selected
column field on the Logic
tab.
- Continue adding banner logic for
the remaining banner columns.
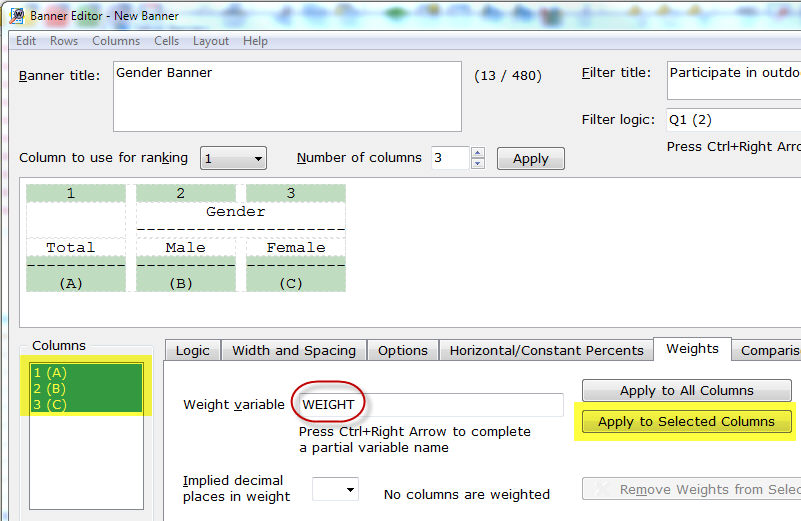
Step
5 - Assign weights to banner columns (optional).
- Select the Weights
tab.
- Select the column(s) for weighting
in the Columns list.
- Enter the actual weight value, card/column
location or variable name for the weight variable in the Weight
variable field.
- If you specify a card/column location/variable
name rather than an actual weight and you do not have implicit decimals
in the data, you must specify the number of decimals to be implied
in the weight variable.
- Enter the number of decimal places
in the Implied decimal places in
weight field. This option lets you specify the decimal place
when your data variable does not include an actual decimal point.
- Select the Apply
to Selected Column(s) button to apply the weight entered to
the selected columns.
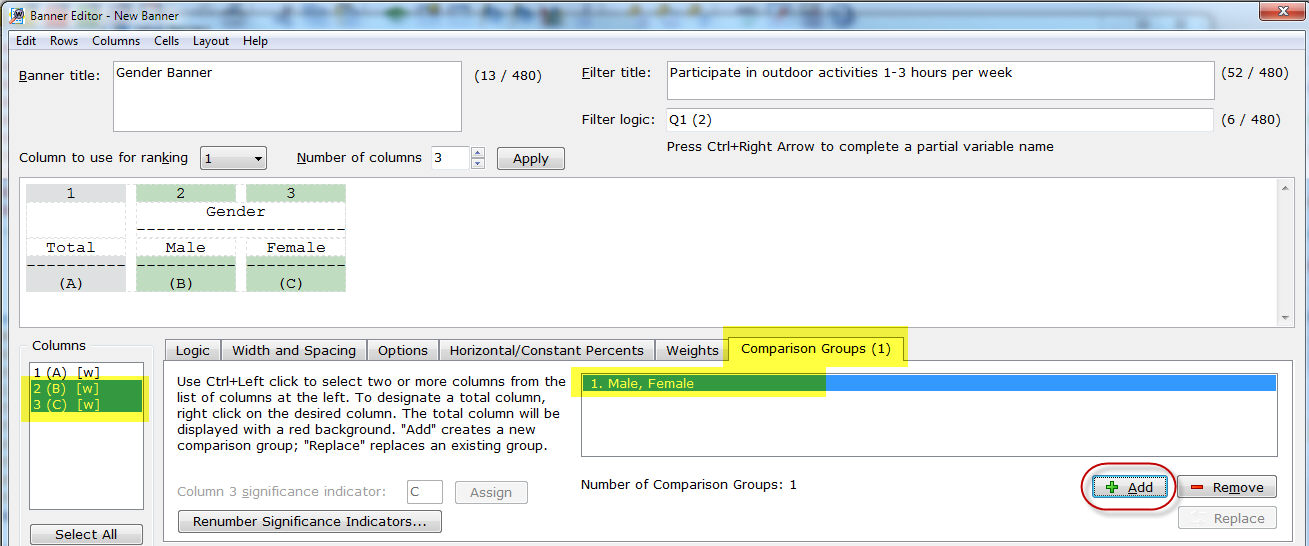
Step
6 - Assign comparison groups for statistical testing (optional).
- Select the Comparison
Groups tab.
- Select the column(s) for the comparison
group in the Columns list.
- Select the Add
button to add this comparison group.
Step
7 - Apply statistical testing (optional).
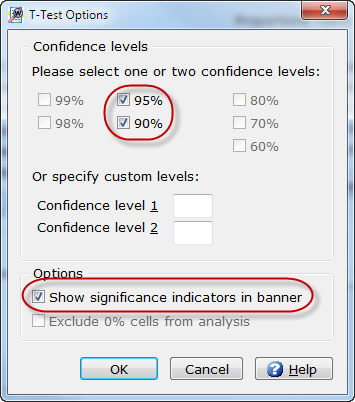
- Select the Statistical
Testing button.
- Select the desired statistical test
for Means and/or Percents.
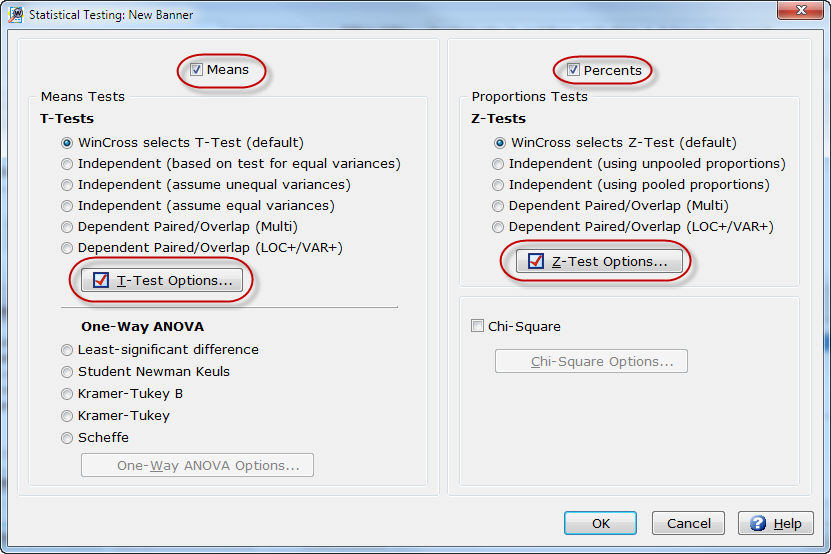
- Select the T-Test
Options and/or Z-Test Options
buttons to choose the confidence levels for the selected test.
Step
8 - Preview banner (optional).
- Select the Preview
Banner button to preview how your banner will look.
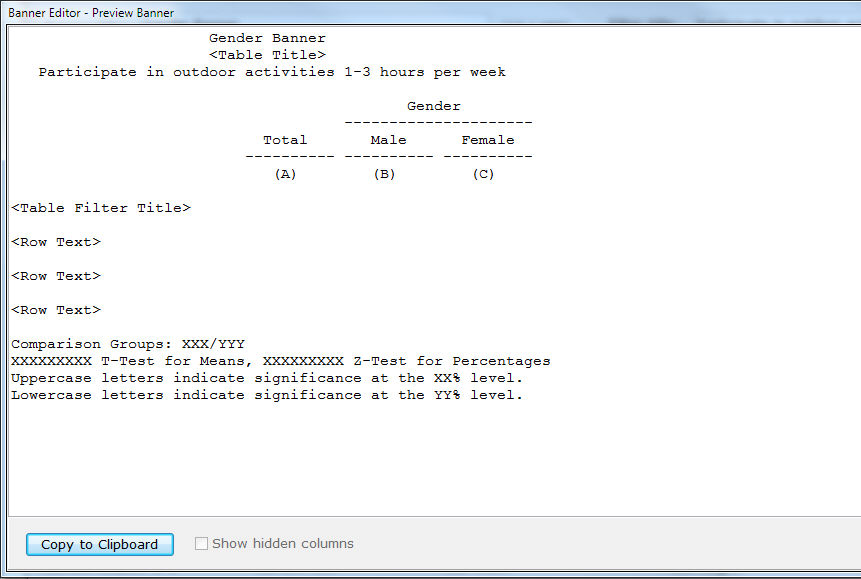
- Select OK
to close the Banner Editor - Preview
Banner dialog box.
- Select OK
to close the Banner Editor
dialog box.
- Select OK
to close the Setup Banners
dialog box.
Related topics:
Setup Banners
Add a New Banner
Edit Banner
Banner Text
Banner Column Options