In Setup|Job Settings, you can specify job title text for your tables using the Job Title tab.
You can specify text for the top and/or bottom of each page of your table. Job titles can have up to 480 characters in up to 4 lines. Text automatically wraps, but you can specify where the text will wrap by entering multiple lines in the Top of page job title or Bottom of page job title window. Pipe symbols (|) are inserted in the job title of the job file (View|Job File) automatically when multiple lines are entered. Alternatively, you can specify where words should break by inserting a pipe symbol (|) at the point where you want the break to occur.
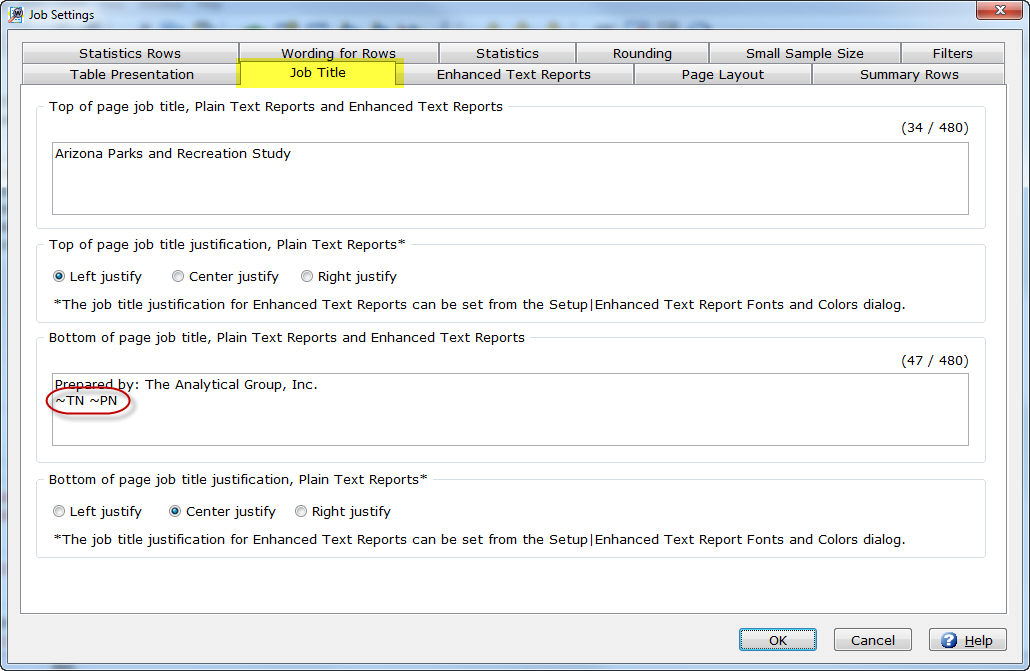
You can also specify that a table number, page number and date be printed on each table. You include the appropriate code, preceded by a tilde (~) in your text. :
~TN for table number
~PN for page number
~DA for date
~TM for time
In the example above, the table number and page number will display on a separate line underneath "Prepared by: The Analytical Group, Inc.".
Note: There are options in Setup|Job Settings|Table Presentation to display a date and/or table number and an option in Setup|Job Settings| Page Layout to display a page number. These options are independent of any specification for date, table number or page number in Setup|Job Title. One option does not override the other option. |
Top of page job title
Note: The Top of page job title justification only applies to Plain Text Reports. The job title justification for Enhanced Text Reports can be specified using Setup|Job Settings|Enhanced Text Reports. |
Bottom of page job title:
Note: The Bottom of page job title justification only applies to Plain Text Reports. The job title justification for Enhanced Text Reports can be specified using Setup|Job Settings|Enhanced Text Reports. |
Related topics: